This blog is going to show you how you can access on premise applications from anywhere using Azure AD Application Proxy. In my example, we will be setting up Windows Admin Center on a domain network. This domain will be synchronized with Azure AD with single sign on enabled.
This guide assumes you have already
- Connected Azure AD with ADDS for Single Sign On
- Installed your Enterprise App on premise which uses Integrated Windows Authentication
- Have admin access to both environments
The guide will cover
- What is Azure AD App Proxy?
- Installation of Azure AD Proxy Connector
- Configuration of an Enterprise Application
- Configuration of Single Sign on for that application
- Assignment of a user to that application
- Access that application from the M365 portal
What is Azure AD App Proxy?
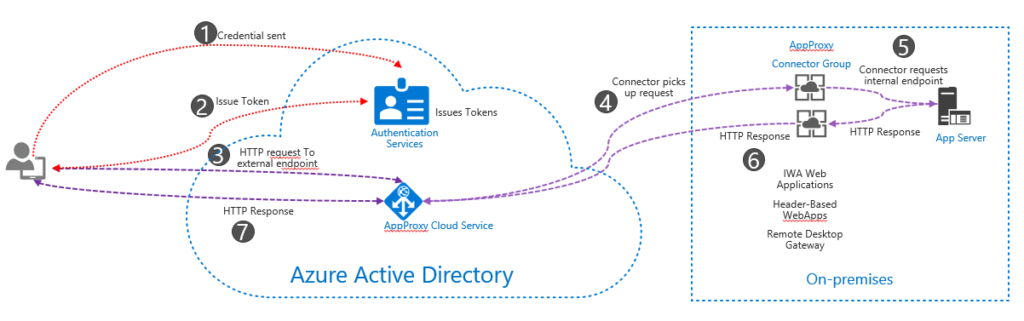
Application Proxy is a feature of Azure AD that enables users to access on-premises web applications from a remote client. Application Proxy includes both the Application Proxy service which runs in the cloud, and the Application Proxy connector which runs on an on-premises server. Azure AD, the Application Proxy service, and the Application Proxy connector work together to securely pass the user sign-on token from Azure AD to the web application. Architecture shown below.
Installation of Azure AD Proxy Connector
First, you will want to identify the Windows Server in which you will use for the Application Proxy server. Login to that server and perform the followings steps.
- Login to Azure Active Directory Admin Center
- Go to Application>Proxy and click Download Connector Service
- Accept and Agree to the terms
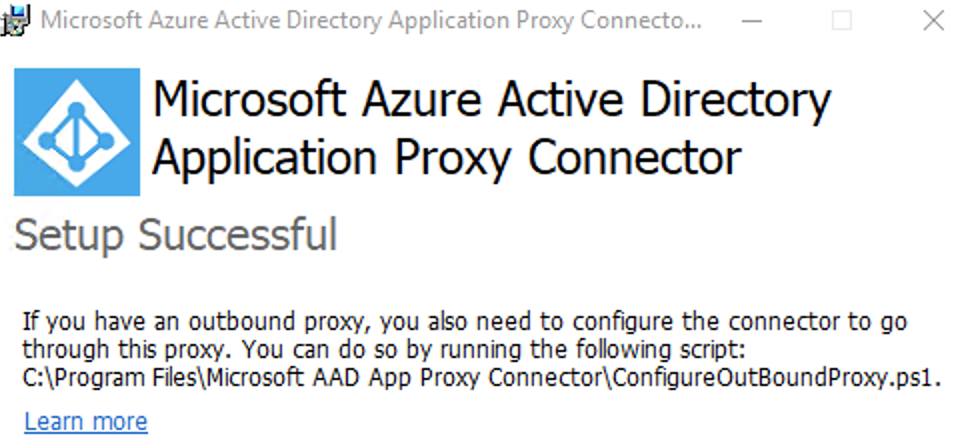
- Install on Windows Server. This will ask you to sign in with your account to M365. When complete, you should receive a success message.
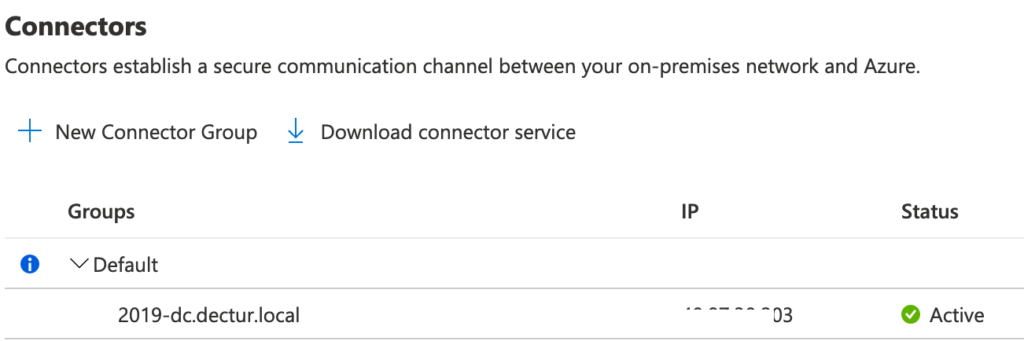
- Check and confirm your connector is active under Application Proxy
Configuration of an Enterprise App
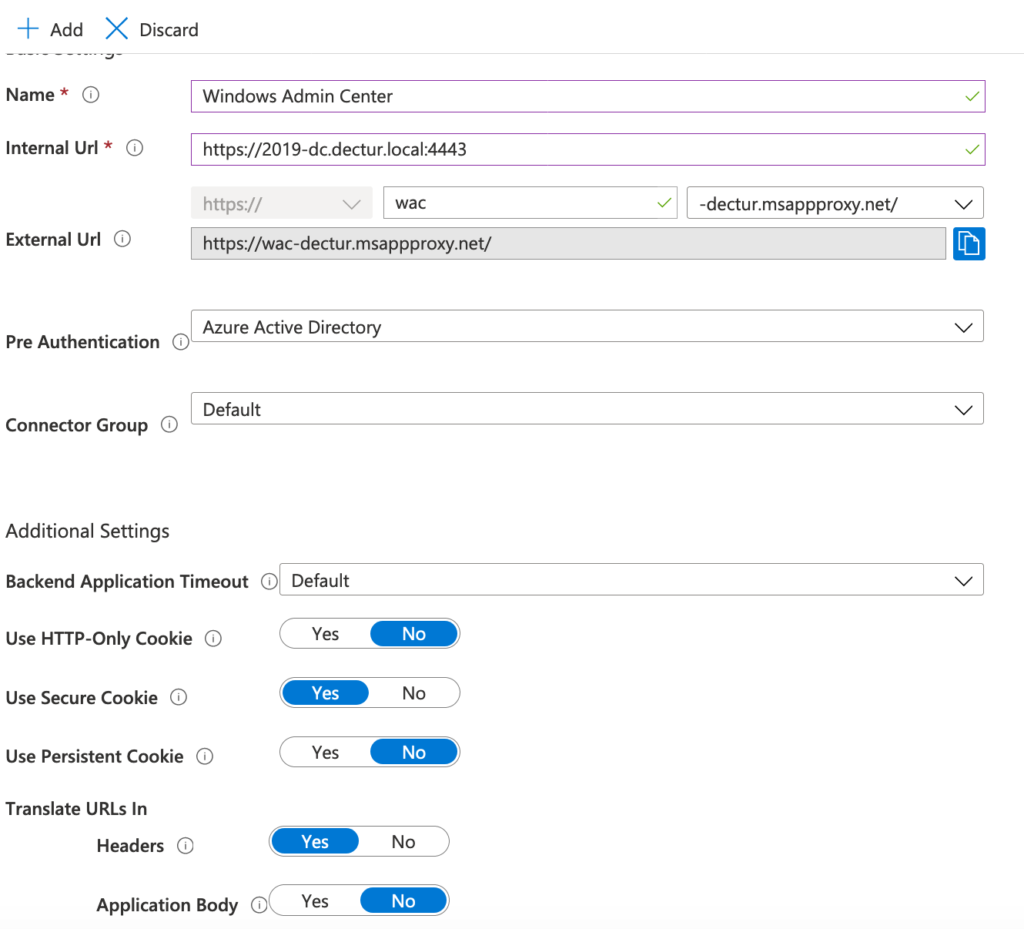
In this section you will add your on-premise application. You will need the internal URL for that application and port number. In my case, I configured Windows Admin Center to use a customized port of 4443 and redirect http traffic to https. My internal URL is https://2019-dc.domain.local:4443.
- Go to Azure Active Directory>Enterprise Applications>All Applications
- Click on +New Application and select On-Premise Application
- Enter the details for your app such as name, internal URL and the URL you wish to have for the proxy.
- Click Add when details are filled out. Keep AAD as the pre-auth.
Configure Single Sign for Application
There are some additional configuration steps you need to take in order to enable a seamless single sign on experience. You may receive a Kerberos delegation error or a prompt to login when you open the app. In my case, I need to make a change to allow Kerberos Constrained Delegation to the server object where the application (Windows Admin Center) resides. This change was made on the AD object.
- Go to your domain controller
- Locate the computer object of the server running the proxy connector
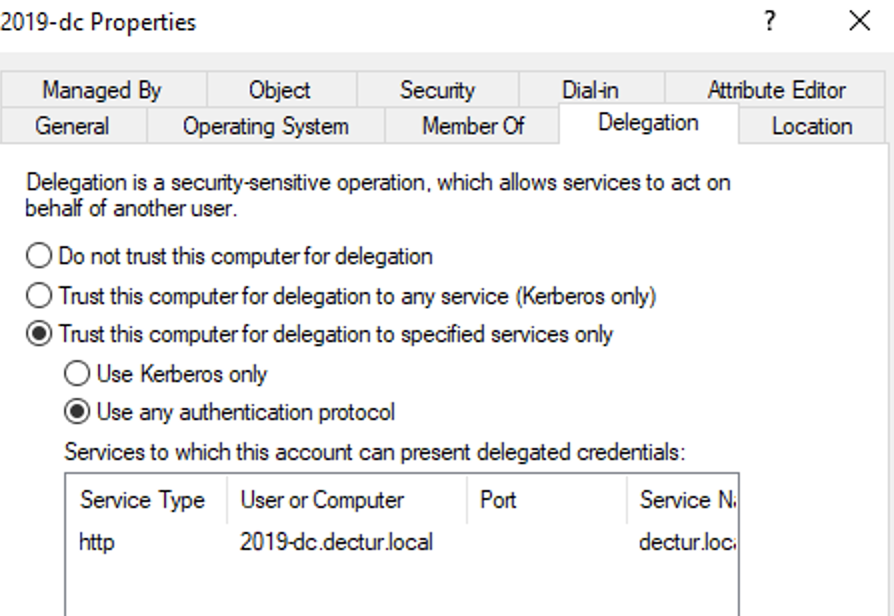
- Right click and select Properties>Delegation
- Select Trust this computer for delegation to specified services only.
- Select Use any authentication protocol.
- Under Services to which this account can present delegated credentials add the value for the SPN identity of the application server. This enables the Application Proxy Connector to impersonate users in AD against the applications defined in the list.
In my example, I used one server for everything. I add the server name with HTTP protocol to access the web page of my application.
With this task complete, we will not enable Single Sign on from the app itself. You will need to go back to Azure AD Portal.
- In the Azure AD Portal go to Enterprise Applications
- Search and select the application you created previously
- Go to the Single Sign On blade
- Click Windows Integrated Authentication
- Enter your SPN and logon Identity. In my case the SPN was for http and my on prem server. HTTP/2019-dc.domain.local and the delegated identity was left as UPN.
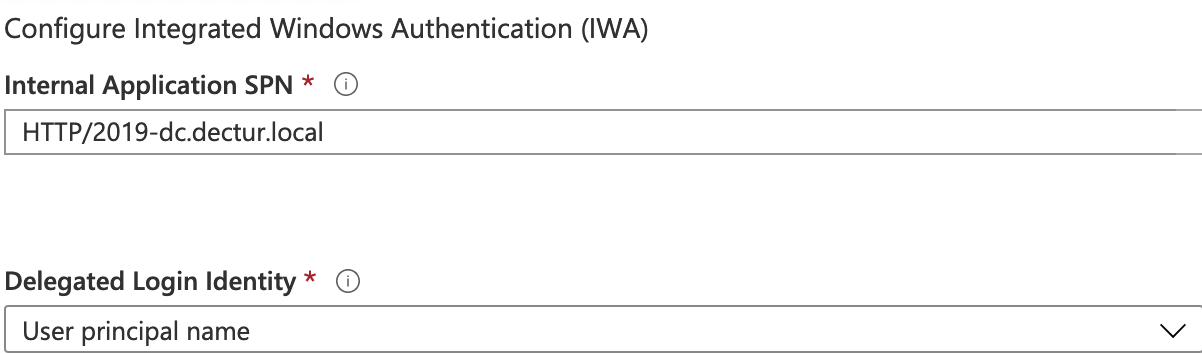
- Click Save
Assign a User to Application
From the Azure AD Portal, you will assign a user to your application. The user I am assigning is an on-prem user synced with Azure AD Connect where single sign on is enabled.
- Go to Azure AD Portal>Enterprise Applications>YourApp>Users and Groups
- Add the users who require access to the application.
Access Application from M365
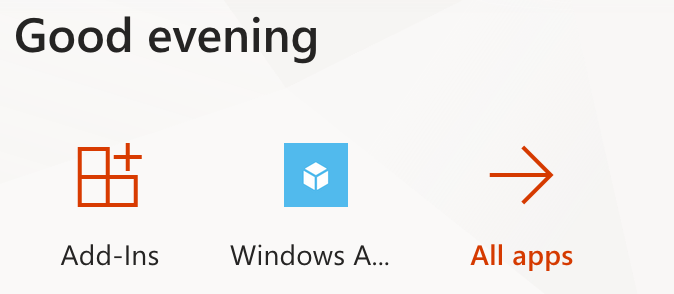
After the app is assigned, the user should see it in the M365 Portal. Go to https://portal.office.com and select All Apps. You will see your app here.
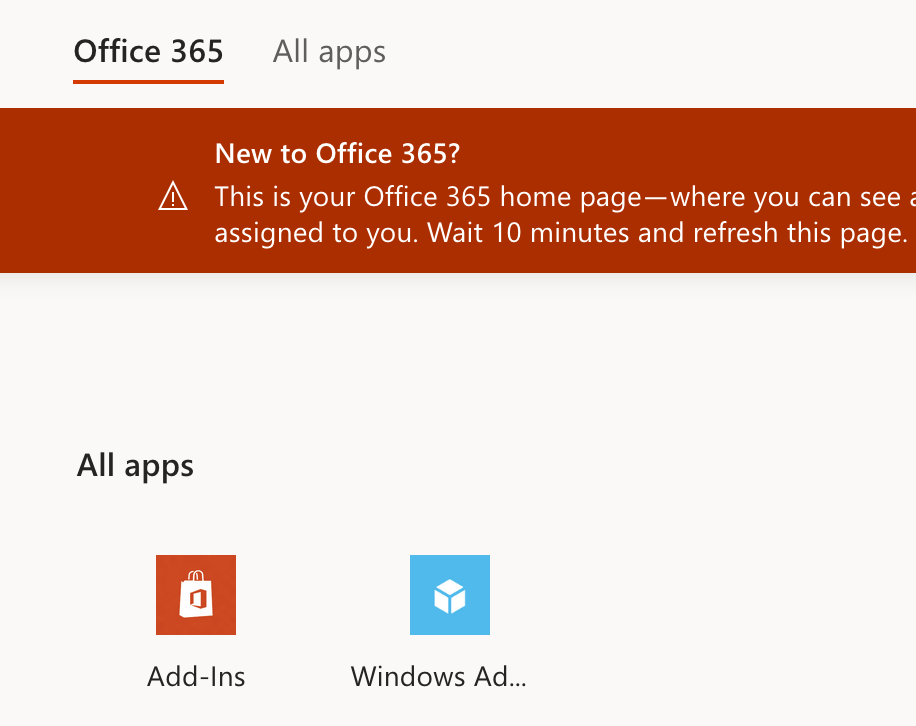
Click on your new application and wait for it to load, with no further authentication. This has been shown below. This application uses the outbound proxy and does not have any inbound NAT rules to the server. The computer being used to access this is on a different network.